Showing posts with label marker pens. Show all posts

Home Sweet Home Popsicle Sticks Puzzle

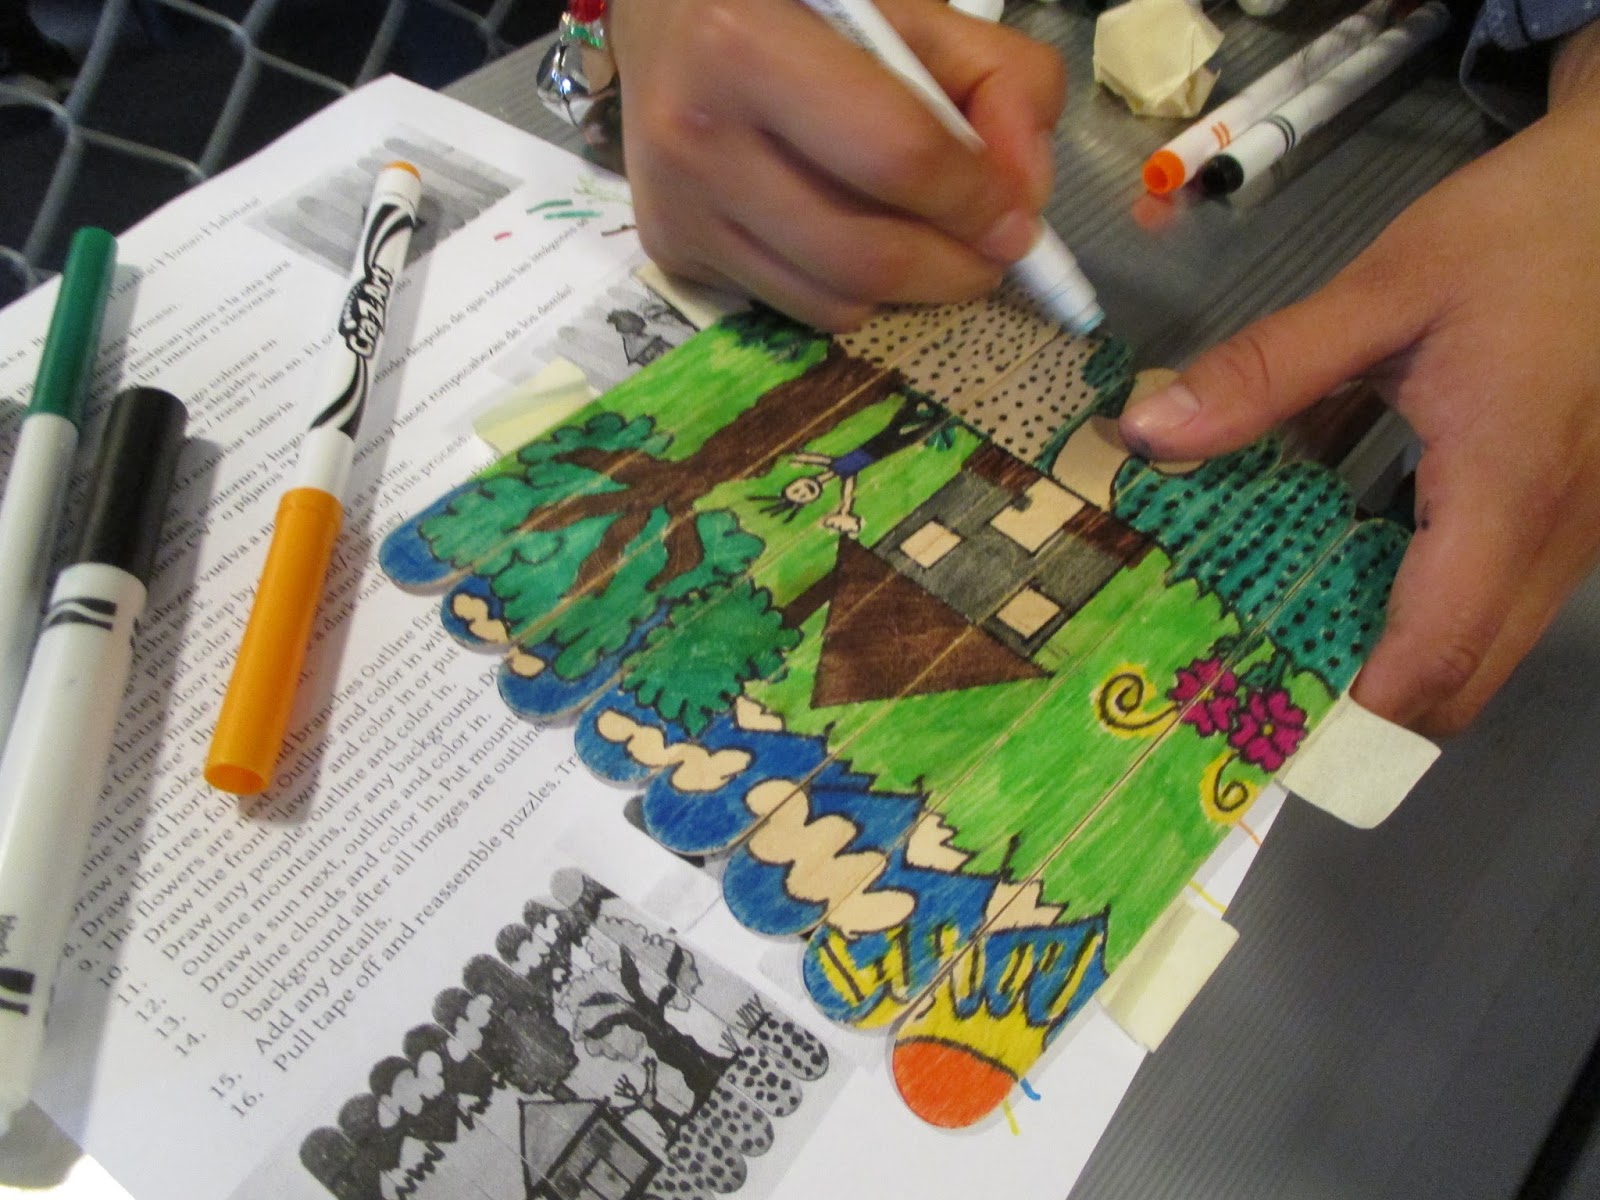
A teenager copied the sample photos exactly!
Home Sweet Home Popsicle Sticks Puzzle was a fun project during "Christmas break" for mothers and children inside an immigrant family detention center. I am grateful to my artist friend, Lynn, for sharing this project which had done with elementary school children as part of an after-school program. I consolidated her instructions (and made them bilingual) for use inside the detention center. It was sweet to see the mothers helping the smaller children and equally sweet to see the teenagers really getting into the project and adding much detail.


1.           Write your names on the back.
2.           Draw your “house” picture step by step, ONE step at a time.
3.           OUTLINE each step and color it in. Outlining is part of this process.
4.           Outline the house, door, windows and roof/chimney.
5.  Color in the forms made. Use colors that stand out next to each other
so you can “see” the outline –use a dark outline with light interior or vice versa.
6.  Outline the smoke and color it in.
7.  Draw a yard horizon line
8.  Draw the tree, foliage and branches Outline first then color in
9.  The flowers are next. Outline and color in with chosen colors.
10.        Draw the front “lawn” and color in or put flowers/rocks/pathways in. Color and outline
11.        Draw any people, outline and color in.
12.        Outline mountains, or any background. DO NOT color in yet.
13.        Draw a sun next, outline and color in.
14.        Outline clouds and color in. Put mountains in, outline and then color the
 background after all images are outlined first. Add birds (“V” birds!)
15.       Add any details.
16.       Pull tape off and reassemble puzzles. Trade and do each other’s puzzles!


Stacked Journalng on a Mission Trip

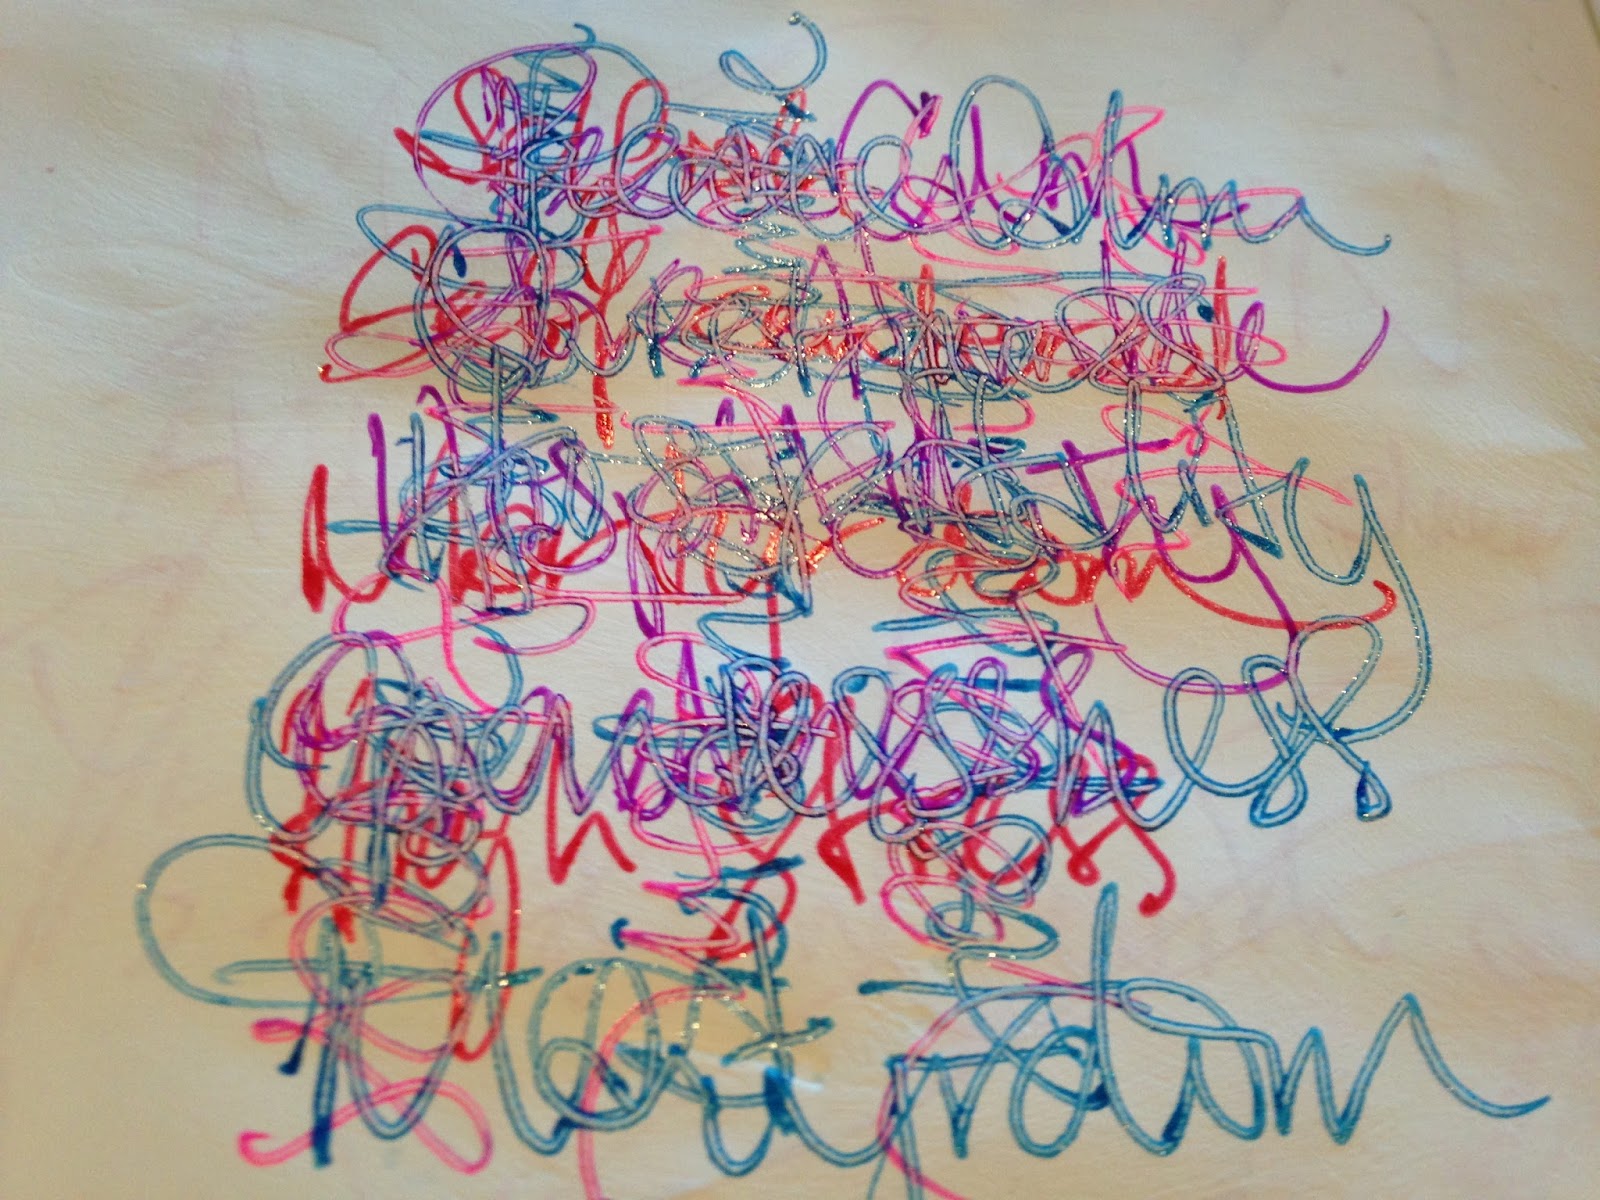
Messy handwriting looks FAB with stacked journaling.
The art technique called "stacked journaling" is an excellent tool for journaling on a mission trip. The technique is writing on top of writing with the point to dump out feelings and emotions and experiences that you don't necessarily need (or want) to re-read later. The tools required can be very simple (i.e., watercolors and pencils or markers) or every elaborate (i.e., incorporating virtually any and all media). We used stacked journaling as a team debrief after a particularly hectic day in the mission field. There is no need for "show and tell" as the art is meant to be self-expression of the moment, day, event, or place.
Layers and layers of neat and tidy writing also works well.

No rules with stacked journaling...just write on top of writing on top of writing.
Team art journaling after a day in the mission field.

Christmas Card 'Street Art'

Mixed media Christmas Cards for immigrant women and children was the art project my church took public at a downtown public festival (Wassailfest). We set up a food booth to sell tortilla soup and created an an adjacent station for children to make mixed media Cheistmas cards. We provided the art supplies and note cards, and a group of teens from the National Honor Society of a local high school volunteered to supervise the art project. It was a phenomenal success!

The tables were filled to overflowing for the duration of the three-hour event. We collected several hundred custom cards. While the children were engaged doing art I shared the plight of these immigrant women and children with the parents.

Someday: Art Journaling to Synthesize Learning

When I took a six-hour workshop on generations theory related to my vocation as a pastor, the presenter said he'd shoot out information like a fire hose. That's exactly what happened. I created this journal entry as my synthesis of what I'd learned and what I ultimately will share with my congregation. The journaling process will be my visual sermon and ongoing reference tool.
I chose a previously prepared page of greens and blues one white gesso with a single tree steps on the middle right which symbolizes creation and the tree of life. The trees across the bottom symbolizes creation on general. Collectively the represent the generosity of God from the beginning of time. Next I added four crosses, one for each of the four phases of (financial) life in middle class America and the excuses given why not to be generous givers. Of course the crosses also symbolize the ultimate generosity of God in Jesus Christ. I wrote the life category on each cross and the excuses given in each life phase around the cross. This contraats our lack of generosity against the abundant generosity of God. 
It occurred to me during the art reflection that most middle class people earn considerably more at the first three life phase and even at retirement have much more net income than during the first two phases. The gold acrylic bottom right represents that income increase. 
I added bold type details of what I wanted to remember for future teaching and preaching. 

Practice Makes Perfect

A great way to learn a new art skill is to to follow the examples of those who have gone before you. It is not "copying" for the sake of not having an original thought of one's own; rather using their examples to help the new art skill set become one's own. This learning process is normative for children learning to tie their shoes, write their letters, and read "Run Spot run!" The same concept holds throughout life as we learn new life, vocational, and education skills. One of my artist friends regularly challenges herself to "copy" with colored pencils or charcoals a photograph that she sees in a magazine. She does it simply to keep her art skills sharp! In the example here I am following the lead of Kass Hall in her book "the Zentangle untangled workbook" for a design she calls "Stixnstonez Color." In addition to providing relaxing doodling in the quiet of the evening, it also is a tangible way to experience a new (for me) art style. From the somewhat brainless doodling I will ultimately absorb this art style into the myriad mixed media collection in my artistic tool bag such that I expect Zentangling to sneak into my mixed media art journaling as it bubbles forth.

Micron pens for the Zentangle with the broad color filled in later with watercolors and a brush.

Evening Doodling with Zentangle

At the end of the day when the house is quiet there is an open opportunity to do just about anything, but in the quiet evening after a hectic day sometimes I just want to do...nothing! Silence and nothing. Since doing nothing is completely counter-intuitive for my high type A busy-busy-busy personality, sitting and doodling with Zentangle is about as close to doing nothing as I can get (doing watercolor washes for backgrounds in an art or sermon journal is a close second). I keep a small journal handy and a box of micron pens and zendoodle away. I'm finding that I like using colored pens on pages which have been previously painted with 2-3 colors of watercolor. I've also realized that I prefer curved or circular doodles over against anything more geometric in shape, mostly because the geometric shapes require more accuracy and that is just more work than I feel like doing after a long day. The curved and circular shapes are much more relaxing to create and to look at.

Preparing for doing Art in the Mission Field

In preparation for mission, each person on my team created a "practice" version of the guided reflection that we were going to do in the mission field using the themes "journey" and "homeland." No one on this team would define oneself as being an artist or even "artsy" so it was a challenge to think reflectively about these two themes and how they could illustrate them on a 10" x 10" piece of art board. The simple steps for reflection include:
1) Choose a color that reminds you of home and either use that to paint the background or as a significant color element in the collaged piece.
2) Identify a symbol that reminds you of home and draw it using "stick figures" just like a child would.
3) Choose a stamped image that reminds you of something from home and imprint that on the page.
4) Identify something about your current location and drawn or imprint an image to illustrate it.
5) Doodle/embellish as desired.
6) Feel free to revisit the piece in coming days and add to it; enhance as desired.

The lizard represents the (unkind) childhood nickname.
 The example to the left illustrates the "home" portion (Columbia) on the left with coffee beans, sunshine, and rain, and the new home (Texas) is on the right. The artist's heart is located in both places: with her parents and brother still in Columbia and her husband and son living in Texas. The triangle with three people below the tree represents the isolation she sometimes feels in Texas because of the great distance for her friends and family in Columbia.
The tiny heart represents a child who died in infancy and is in heaven.

Broken wedding rings; broken hearts.

Crayon with watercolor for the background with simple symbols, mountains, and bright flowers.

Table of Contents for an Art Journal


Lines done with Sharpie oil marker; numbers with colored pencil.
Once my working art journal starts to get mostly full, it drives me nuts to flip back-and-forth; back-and-forth; and back-and-forth AGAIN looking for a particular page. It's in the middle of that frustration that I finally sit down and create a Table of Contents (for which I've saved the inside front cover OR the inside back cover) so that it makes finding pages MUCH EASIER. It also then identifies how many pages are still in a point of flux; either completely empty or only partially completed.

White gesso with 3 shades of fluorescent tempura paint. 
 To begin, put a post-it note on each double-page-spread with a sequential number. I must confess that every time I make such a Table of Contents I initially goof up and skip a page (here-and-there) which I inevitably discover after I've already configured the Table of Contents to a particular predetermined total number of pages. In this example, I had counted and created a table for 48 pages. And yes, I discovered mid-way through that I'd skipped TWO pages for a total count of 50. You'd think I'd learn because this is a consistent error for me; but no! No matter how careful I think I am being about counting and labeling the page numbers in the journal, inevitably more pages magically appear. Another caution is that as you come to empty pages that you are not ready to title, it is super easy to not skip in the index and write (for example) the title for page four in the page three (empty) spot. To avoid this error, put a post-it not on the pages without titles/not yet complete so you don't inadvertently put the "next" page title in the wrong spot. This post-it note plan also makes it easy to identify the pages in progress. In this example, I was surprised to discover that I still have a total of 20 pages either completely blank or in progress. My journal isn't nearly as "done" as I had otherwise thought it was.
I had to squeeze in two more pages (49 and 50) as my original page count was off by two.

Watercolor Flowers Doodle Art Notecard

For a brainless exercise that is mildly functional, I created a watercolor doodle art of flowers on card stock so that the end artwork can be folded and mailed as a notecard. 
Practice version in my art journal.
 I did a practice version in my art journal and then repeated the same concept on a notecard with one "bouquet" on 1/2 and another "bouquet" on the other half of the card.
First, use a round brush to swish circles of color across the page. I chose shades of yellow and orange for the practice version and half of the notecard; and purple and blue for the second half of the card. Use a smaller round brush to paint stems and leaves. Then use either a fine tip marker pen (my practice version) or colored art pencils to draw in outlines on the flowers, stems, and leaves.
The first half of the notecard

Make exaggerated outlines with colored pencils.

Embellish the stems and leaves with outlining.


The second half of the notecard.

A pretty practice piece to write a note inside and mail.

With This Ring I Thee Wed Anniversary Mixed Media Collage

While I was on R&R for our 35th wedding anniversary I created several art journal entries of memories based upon (re)reading the love letters of our first year of dating/courting while we lived 1,200 miles apart (Memphis to NYC). As I re-read the letters, I more-or-less collated them on my journal pages based upon common (topic) theme. This page gradually evolved as bits and pieces related to preparation for the wedding itself. It includes snippets of letters from my (than) finance as well as from my mother as the wedding plans evolved. The letters became the background to the page, and the words and art were inspired/added based upon the letters. Overall, the theme is preparation for the wedding day...35 years ago.
A fun technique is to outline simple shapes with white glue (AKA Elmer's Glue) and let it harden overnight. I used this technique to outline the wedding cake which I had originally planned to tear off the page of a novel that was sitting in the "re-circulation" basket at the pool. I'd begun working on this journal page when I saw the cover art of this book. At first I thought, "decoupage" and then I decided to imitate the concept by drawing an outline of the cake with glue. I repeated the same concept with the interlocking wedding rings. I like to title the page with something bold that says what I've been "hearing" during the art and reflecting. I used simple two layers of stacked journaling to write "And the two shall become one," and then "With this ring I thee wed." The stamped imprint of "friend" on the lower right portion of the page captures the essence of the relationship and the reason for the wedding ceremony.
It takes over-night for the white glue to dry.


The double-rings are emphasized by the 3-D from the white clue over the marker.

White glue adds a very cool 3-D effect/

The novel cover artwork on the left inspired my "white glue" 3-D art on the right.

Garbage In; Garbage Out

Dump out your feelings on a half sheet of construction paper.
I used my art journal to continue the "Dump Sheet Self Portrait" theme and prepare for teaching the concept to a group of teens in a shelter for teens-at-risk. I titled mine "Garbage In; Garbage Out" in memory of a favorite expression used by motivational speaker Zig Ziglar who always said that if you put garbage into your mind then garbage will inevitably come back out in your lifestyle. Much better to fill your mind with good stuff so that good stuff will flow back out in your life.

 Begin by "dumping" on a particular theme on the half sheet of construction paper. Write quickly without time to stop and think. Fill the entire page. Then "insert" yourself into the writing with a simple self-portrait. Draw a vertical oval for your head; add the neck; then shoulders. Fill in the facial features. Paint/stamp/ write words on the full sheet of construction paper to "counter" the negative dumping. In other words, write down the good stuff as it relates to the previous dumping. Then cut the bust and glue onto the full sheet of construction paper. Continue to paint, collage, stamp, and embellish the page to turn the dumping into a positive expression of possibility.
 Optional after: I glued by construction paper collage into my altered book art journal (left) and continued embellishing (below).

Dump Sheet Self-Portrait

"Dump Sheet Self-Portrait" is a modified idea from Journal Spilling: Mixed Media Techniques for Free Expression by Diana Trout. Her concept is to identify your (self) critic through art. I like the concept, but the emphasis is negative and I prefer to emphasize the positive. "Dump Sheet Self-Portrait" begins by "dumping" the negative self-talk but then "flips" the negative to a positive to complete the mixed media reflection.
Begin by "dumping" internal/self-talk about a specific topic/theme.

Draw your head, neck, shoulders & cut out & paste onto page.
My "dump sheet" theme was the negative self-talk I found myself doing regarding my re-entering the world of writing. I have written countless articles and published several books, but I am re-entering after being out of that loop for a decade. I realized all of my self-talk was negative and needed to be dumped and replaced with positive.  This exercise was helpful to identify the self-talk as being negative and to intentionally replace the negative with the positive.
Paint the background and add bold words that counter the dump sheet. Top with more layers of paint.

Embellish with stamping.

Collage items in the background. [Add facial features; see top photo.]