A fun way to incorporate the photo into a journal page is to use the photograph as a "guide print" for a mono print from a gel plate. Begin by sizing a digital photograph so that it fits underneath your printing/gel plate. I opted to use my 8" x 10" gel plate so the print here is slightly smaller. (My inkjet printer is B&W which is why the print is B&W. I then referred to the digital image on my cell phone if I needed a color guide.) Slip the inkjet print into an acetate sleeve to project the gel plate
and the print. Tape the acetate sleeve to your work table so it doesn't slip around and top with gel plate. Once this is situated, you're ready to begin. I wanted to make a two-pass mono print with the background printed first and the subject (flower) second.
I used acrylic paint for the background and subject. Because acrylic dries pretty fast, it is necessary to add a few drops of "extender" to each color of paint; stir, then apply the paints as usual. You will still need to work fairly quickly, so have everything you need all laid out and ready with a basin of water nearby to drop in the various tools that you use. I painted the lily and the leaves and then lined up the previously printed background and "pulled" the subject onto the background.
 |
| Ready to lay down the paper and pull the print. |
 |
| Extra paint left after the first print was pulled. |
 |
| The completed mono print which I then adhered to a double-page spread in my art journal. |


 Mono printing with small kids is messy but joyous. We covered a ping pong table with paper and created six small stations to rotate children in for mono printing on a Gelli Art plate. The stations were set up with three choices of acrylic paint, a roller, and a selection of items for stamping texture and Christmas shapes. There was one adult per station to assist the children and to help with cleanup between kids. One of the helper teens demonstrated the process and then we cut the kids loose at six stations which were set up around a covered ping pong table.


 The backgrounds for these art reflections were created during a recent group session on mono printing, Mary used her original photographs as the "guide prints" that she positioned under a piece of clear Plexiglas and then used acrylic paints to quickly paint the gist of the image on top of the acrylic. Each print was individually pressed to pull up the rendered image. Once dry, the mono prints were adhered to her art journal for future artful reflection. Mary said her inspiration for the art journaling came while listening to the Christian radio station KLOVE.
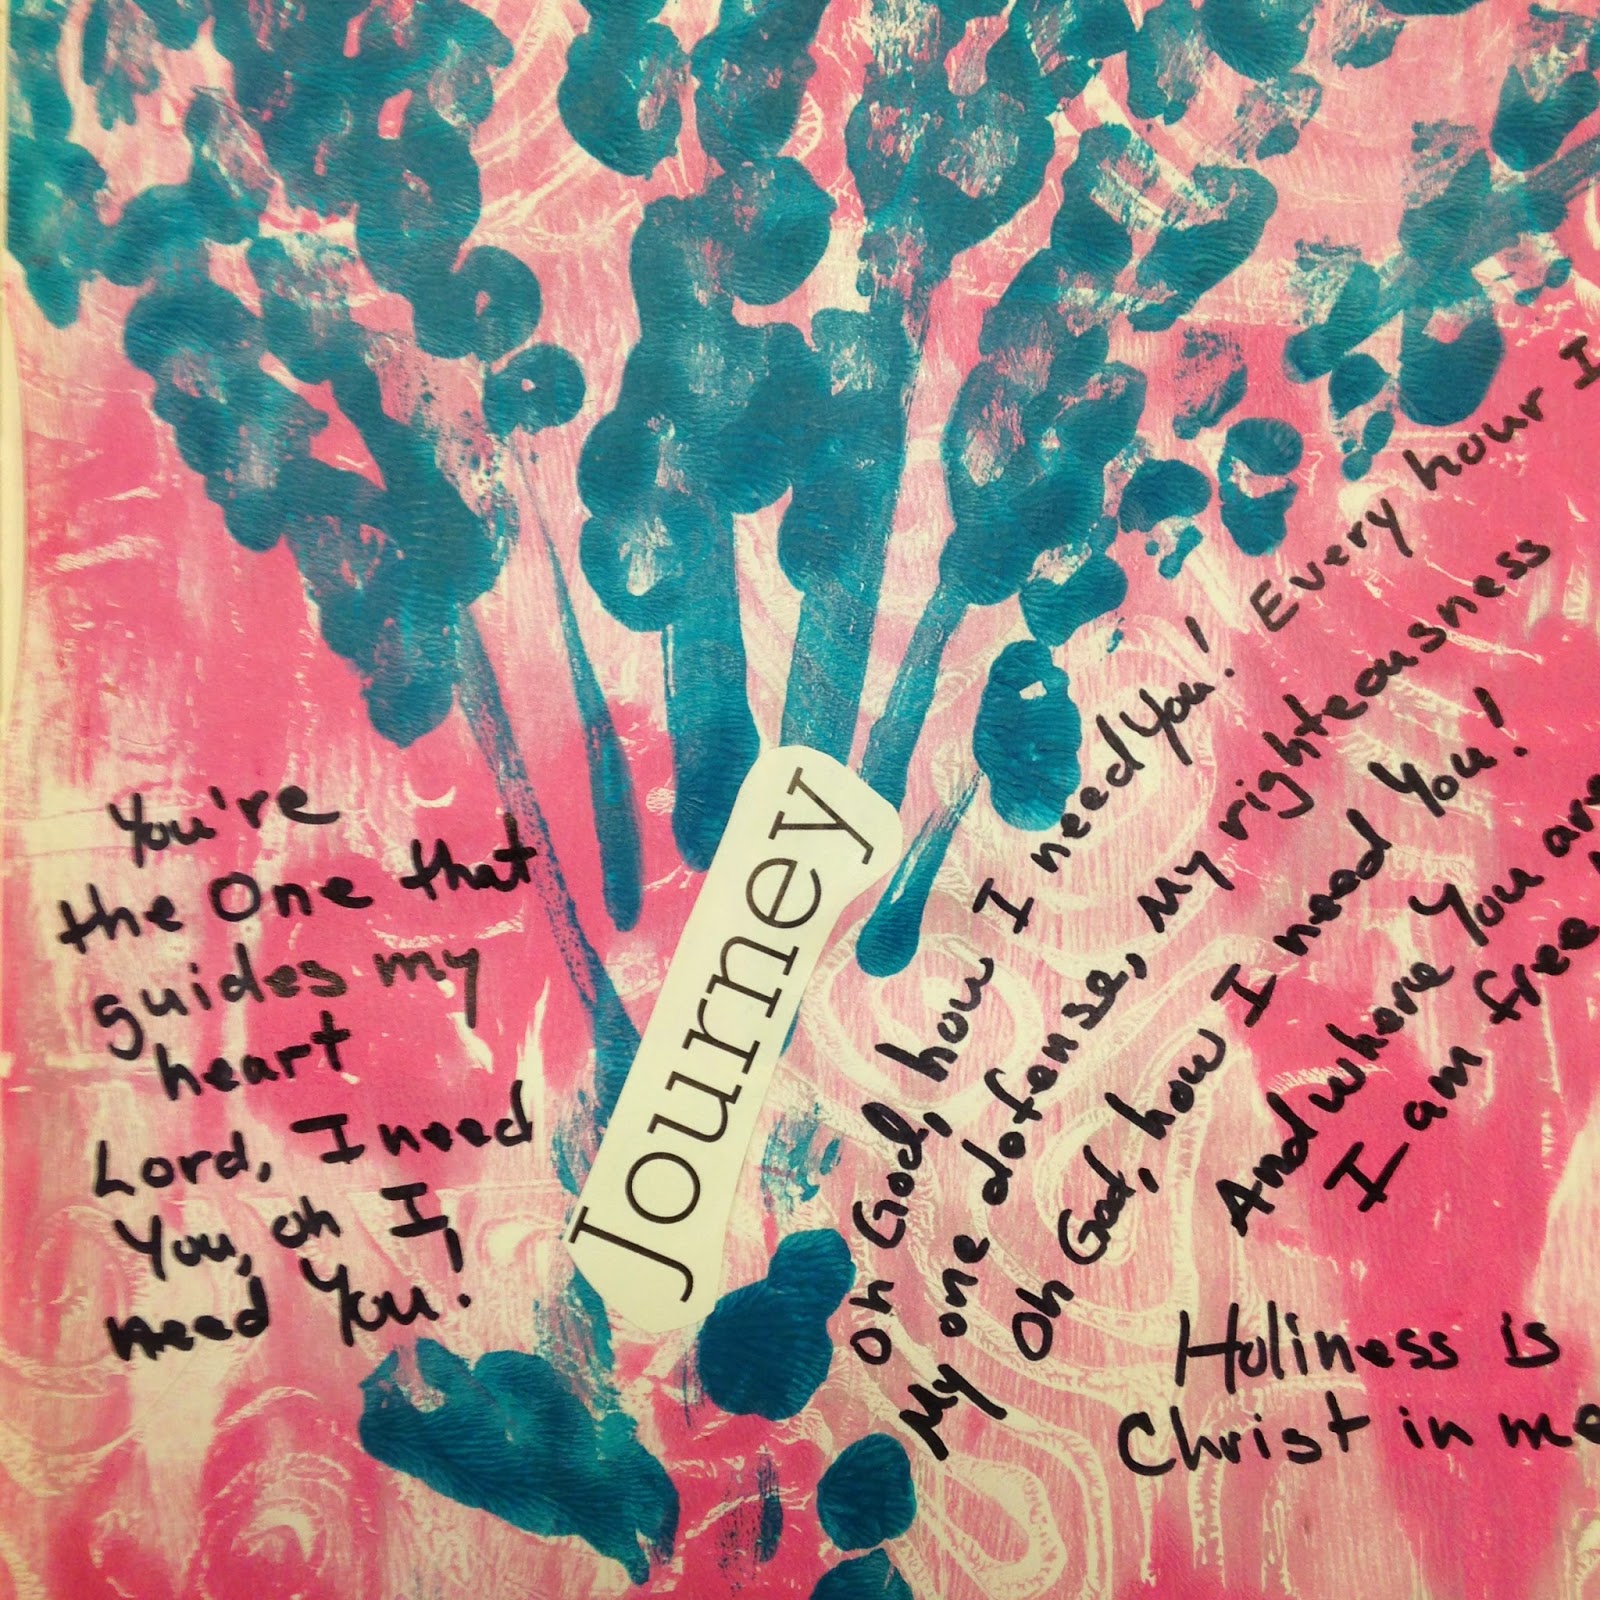


 I used the photograph of the water lily as my guide print for a mono print. In the spirit of total art experimentation, I pushed the art envelope to see how many variations I could create from just one Gelli Art mono print "original" painting. I came up with the following five options from just one round of "first run" painting on the plate:


.jpg)
.jpg)