The same art techniques used for Christmas Cookie Cutter Watercolor Tree Ornaments also are ideal for
homemade Valentines. It is easiest to have the shapes pre-cut. Use
a pencil to lightly outline around the outside of a heart-shaped cookie cutter
on watercolor paper—draw a row across the length or width of the paper. Stack
three sheets of watercolor paper with the one with the shapes drawn in pencil
on the top. Cut the strip of shapes and then “group cut” the shapes through all
three layers of paper. Then decorate with a variety of simple watercolor
techniques for a kid-friendly project that is festive and fun. If you have more
time and are working with older children or adults then they could outline and
cut their own stack of shapes from a sheet of watercolor paper.

Watercolor
techniques:
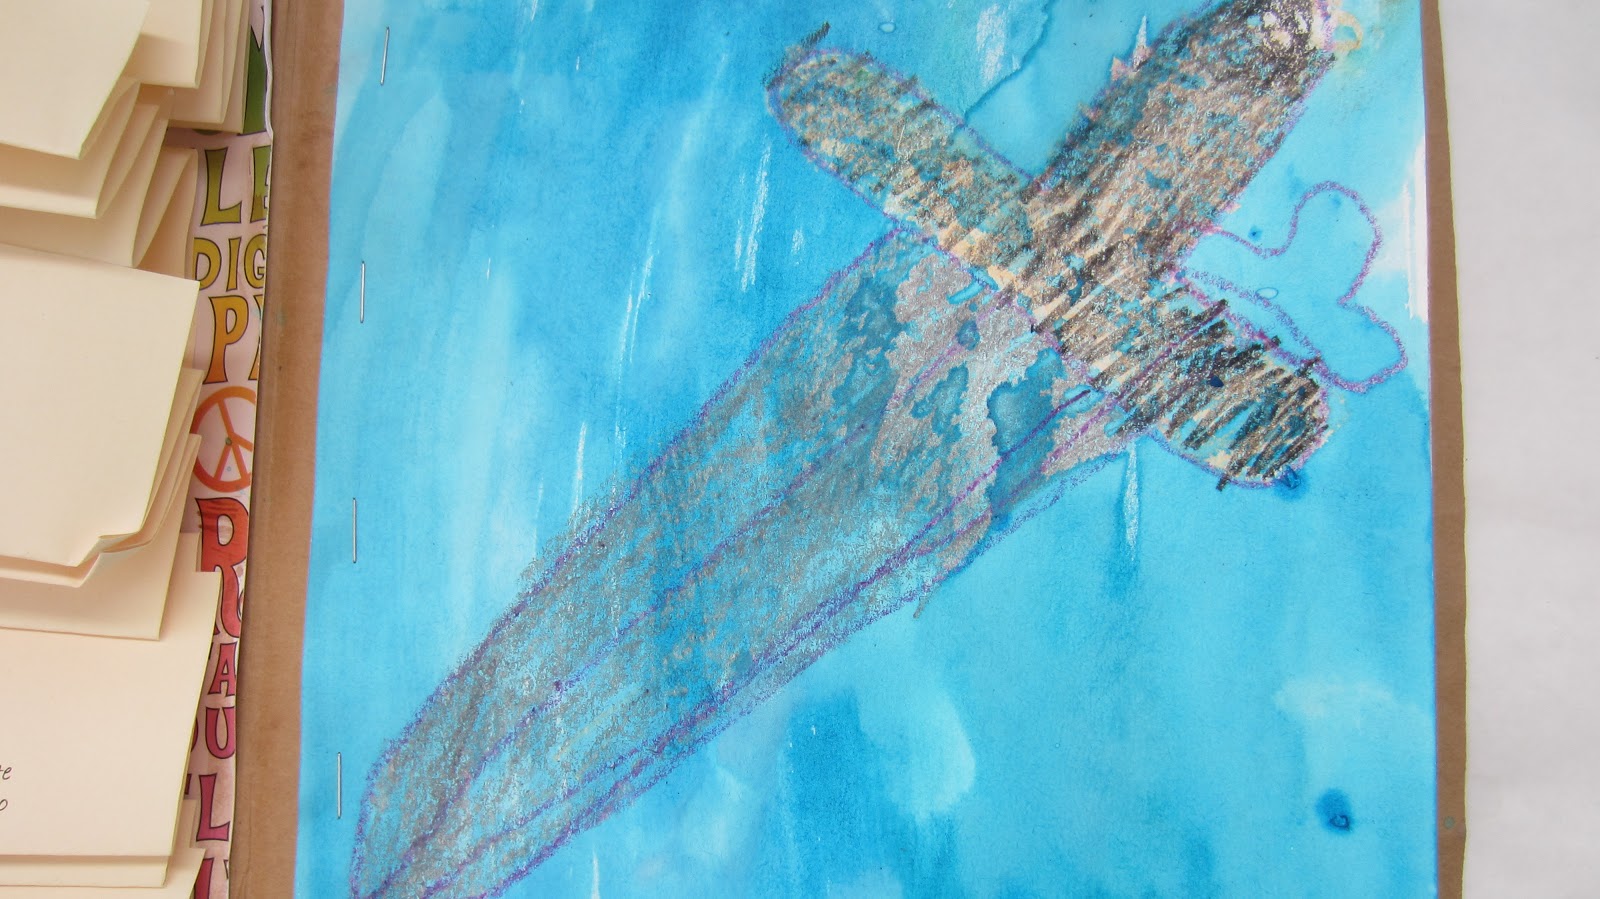
Wax relief: Use glitter
crayons to decorate both sides of the heart—press hard so the wax is bold and
heavy on the paper. Paint with watercolors on both sides. 
 |
| Decorate both sides with crayon and then watercolor; force dry with hairdryer the 1st side before flipping it over. |
Watercolors Mixed Techniques:
Practice different watercolor techniques such as wet on wet so the colors blur
together; dry on dry so the watercolors have a more distinct edge; layers of
watercolors—force try between layers so they don’t turn muddy.
 |
| Use watercolors and/or thinned down acrylic paint to brush bubble side of bubble wrap-press on cutout. Layer several colors and mix sizes of bubble wrap (below). Force dry with a hair dryer between layers so the colors don't get muddy as you layer. |