Showing posts with label colored pencil. Show all posts

Quien Soy? (Who am I?) Immigrant Art Examples Step One

 Dumping out the bad helps to clear the emotional, mental, and spiritual space to allow room for renewal. It also is important to name the good and to claim it for life abundant from this point forward.
  
First: Use pencil, crayon, or ink pent to fill the page with words or phrases that answer the question: Who am I? For example some topics to consider: age, gender, race, nationality, birth order (oldest brother), marital status, victim of violence, deeply loved by my mother, grade in school, languages you speak, relationship to family members (aunt, niece, cousin), religious beliefs, immigrant seeking asylum, et cetera.

Stacked Journalng on a Mission Trip

Messy handwriting looks FAB with stacked journaling.
The art technique called "stacked journaling" is an excellent tool for journaling on a mission trip. The technique is writing on top of writing with the point to dump out feelings and emotions and experiences that you don't necessarily need (or want) to re-read later. The tools required can be very simple (i.e., watercolors and pencils or markers) or every elaborate (i.e., incorporating virtually any and all media). We used stacked journaling as a team debrief after a particularly hectic day in the mission field. There is no need for "show and tell" as the art is meant to be self-expression of the moment, day, event, or place.
Layers and layers of neat and tidy writing also works well.

No rules with stacked journaling...just write on top of writing on top of writing.
Team art journaling after a day in the mission field.

Introduction to Zentangle Inside a Detention Center for Immigrants Seeking Asylum

The introduction to Zentangle was a BIG hit for immigrant women and children who are incarcerated inside a detention center and seeking asylum from violence in their homelands. I had the privilege of doing art projects two days during spring break 2015, and the kids and moms totally enjoyed the zen of tangling. I brought half a dozen books on "how to" and put one one each table. They flipped through the books for ideas and then got right to it. Of course, they created their own designs too.
The artist added the black border and the black lines between patterns.
 We used glitter pens, colored pencils, and #2 lead pencils. Each person had a 5x7 piece of black card stock and a 5x7 piece of white card stock. (I had larger pieces for small children to use with crayons.) They could make a design on the front and the back of each piece. The most difficult concepts to get across included that "big is not better" and "fill the entire page." It was my mantra to say: continue; keep going, add more; fill the page. During the afternoon session, some of the kids added color with watercolors or pastels. Most of the kids were totally intrigued with "just" the pencils or the glitter pens.
Glitter pens on white. The card size is larger (it was intended for the little kids to use with crayons).

Colored pencil on white with watercolors.

#2 lead pencil on white.

The central design was colored with watercolor paint.


The Reluctant Artist Presses On

It's always exciting to me when a reluctant (non)artist doesn't give up on the concept of artsy theology and art journaling as sacred space but presses on. Such is the case with the examples here of a recently retired therapist who never pursued "art therapy" because she isn't an artist and can't "do" art. She joined a group "how to" session six months ago and recently showed me how she's been incorporating art in her prayer journal. With her permission, here are some images from her journal. 


Artful Synthesis (AAR) Academic Conference

A road trip home from an academic conference is a great opportunity to do some "car art" reflection to synthesize the highlights of learning and to identify goals upon return home. I glued pieces of the program (of lectures I'd attended) tou art journal and filled the page with flower doodles using colored pencils. Each flower represents a major area of goal setting as it has emerged from the conference. I then labeled each flower the the main them. I'll follow up later to further delineate goals for each category.


Preparing for doing Art in the Mission Field

In preparation for mission, each person on my team created a "practice" version of the guided reflection that we were going to do in the mission field using the themes "journey" and "homeland." No one on this team would define oneself as being an artist or even "artsy" so it was a challenge to think reflectively about these two themes and how they could illustrate them on a 10" x 10" piece of art board. The simple steps for reflection include:
1) Choose a color that reminds you of home and either use that to paint the background or as a significant color element in the collaged piece.
2) Identify a symbol that reminds you of home and draw it using "stick figures" just like a child would.
3) Choose a stamped image that reminds you of something from home and imprint that on the page.
4) Identify something about your current location and drawn or imprint an image to illustrate it.
5) Doodle/embellish as desired.
6) Feel free to revisit the piece in coming days and add to it; enhance as desired.

The lizard represents the (unkind) childhood nickname.
 The example to the left illustrates the "home" portion (Columbia) on the left with coffee beans, sunshine, and rain, and the new home (Texas) is on the right. The artist's heart is located in both places: with her parents and brother still in Columbia and her husband and son living in Texas. The triangle with three people below the tree represents the isolation she sometimes feels in Texas because of the great distance for her friends and family in Columbia.
The tiny heart represents a child who died in infancy and is in heaven.

Broken wedding rings; broken hearts.

Crayon with watercolor for the background with simple symbols, mountains, and bright flowers.
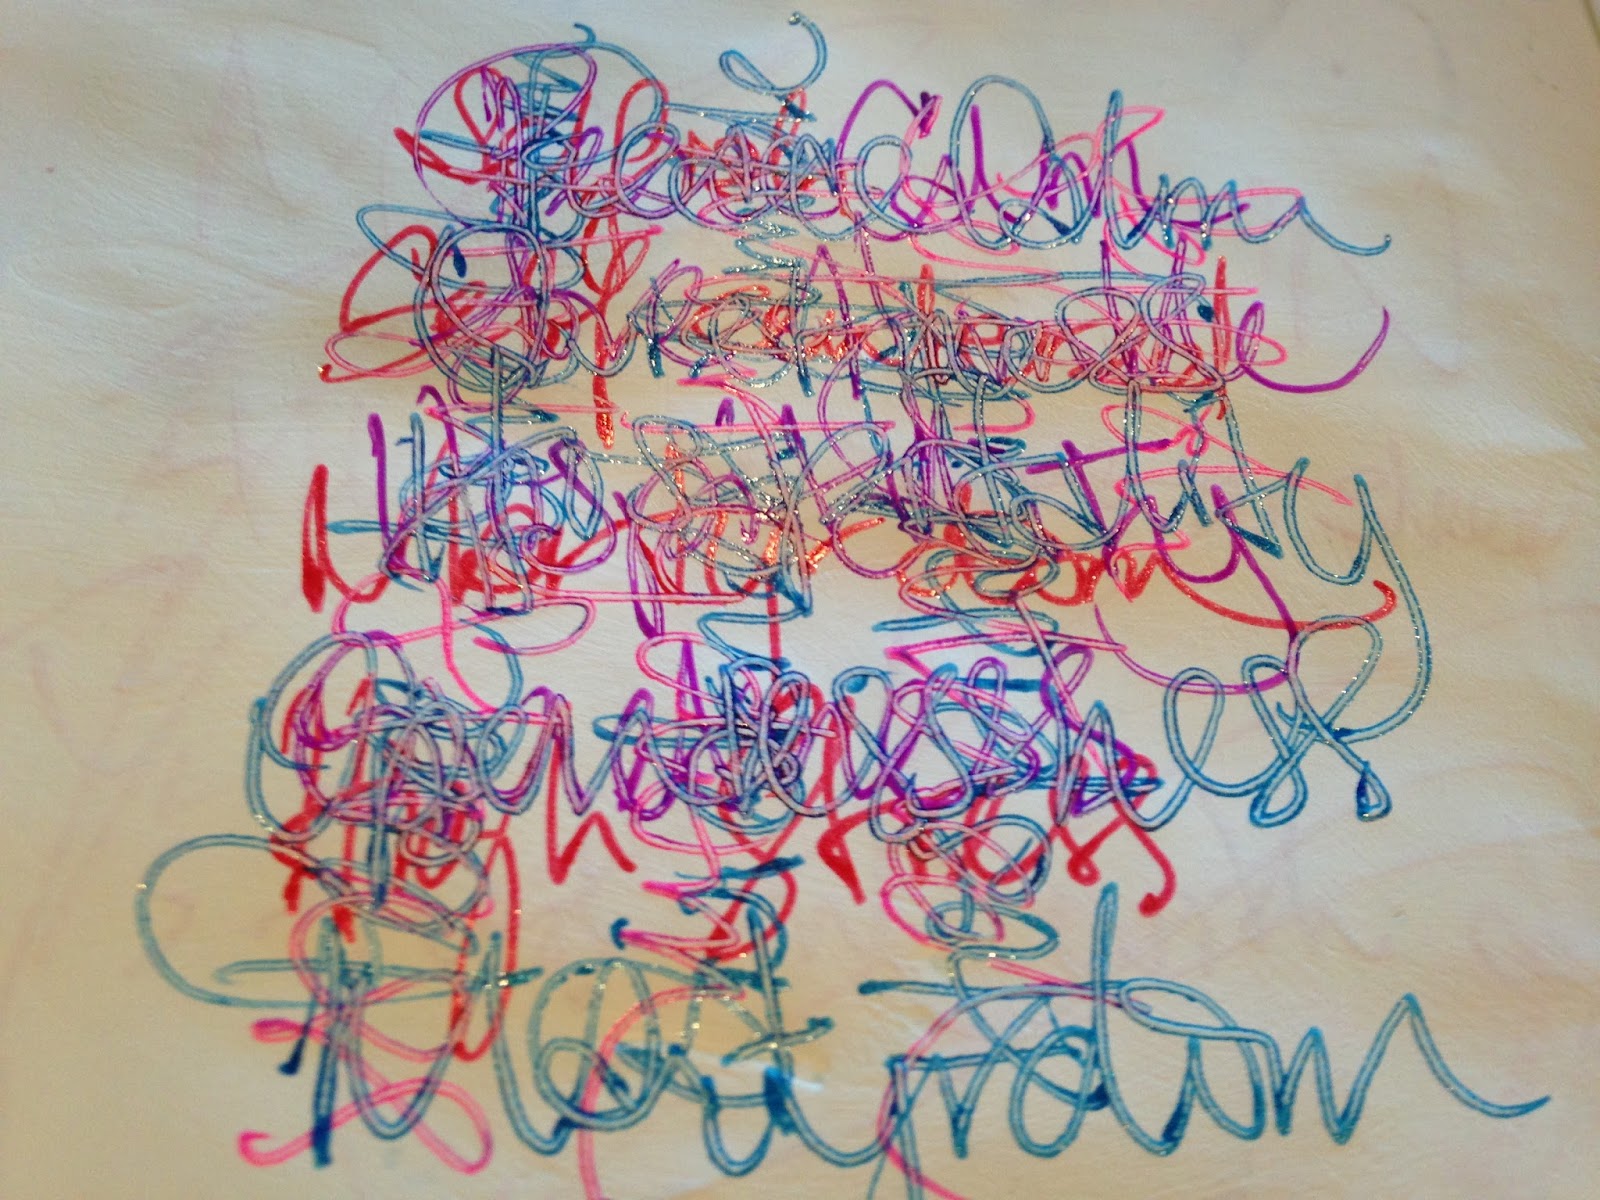
Table of Contents for an Art Journal


Lines done with Sharpie oil marker; numbers with colored pencil.
Once my working art journal starts to get mostly full, it drives me nuts to flip back-and-forth; back-and-forth; and back-and-forth AGAIN looking for a particular page. It's in the middle of that frustration that I finally sit down and create a Table of Contents (for which I've saved the inside front cover OR the inside back cover) so that it makes finding pages MUCH EASIER. It also then identifies how many pages are still in a point of flux; either completely empty or only partially completed.

White gesso with 3 shades of fluorescent tempura paint. 
 To begin, put a post-it note on each double-page-spread with a sequential number. I must confess that every time I make such a Table of Contents I initially goof up and skip a page (here-and-there) which I inevitably discover after I've already configured the Table of Contents to a particular predetermined total number of pages. In this example, I had counted and created a table for 48 pages. And yes, I discovered mid-way through that I'd skipped TWO pages for a total count of 50. You'd think I'd learn because this is a consistent error for me; but no! No matter how careful I think I am being about counting and labeling the page numbers in the journal, inevitably more pages magically appear. Another caution is that as you come to empty pages that you are not ready to title, it is super easy to not skip in the index and write (for example) the title for page four in the page three (empty) spot. To avoid this error, put a post-it not on the pages without titles/not yet complete so you don't inadvertently put the "next" page title in the wrong spot. This post-it note plan also makes it easy to identify the pages in progress. In this example, I was surprised to discover that I still have a total of 20 pages either completely blank or in progress. My journal isn't nearly as "done" as I had otherwise thought it was.
I had to squeeze in two more pages (49 and 50) as my original page count was off by two.

Private Moments: Love Letters & Reflection

What great joy to re-read old love letters and then to think reflectively about what these early letters meant and mean in our married life TODAY. After reading through the letters I collaged bits & pieces onto a journal page; added a photo of each of us from that time-frame, and then began to think about what all this was saying/meaning. I chose the symbols of the sunflower (the official state flower of my childhood home/Kansas) and the movement of the wave (to represent Southern California and my beloved's childhood home). I'm sure there's probably another layer that could be added on top of this...for now, this is what I'm thinking and feeling.

Sunflower and waves: KS meets So Cal.

Stenciling: Kansas Girl Loves So Ca Boy

The background...love letters and two old photographs.
The finished page.

Anything but a Paintbrush

We did a fun project at a shelter for teens-at-risk: anything but a paintbrush. The project materials list included watercolors, a 6"x8" piece of watercolor notecard paper, various widths of masking tape, and whatever oddball material could be used to apply watercolor paint that was NOT a paintbrush. Some of the applicators included: cotton swab, torn piece of corrugated cardboard, bubble wrap, tissue paper, sponges of assorted sizes, shapes & materials, bits of cloth, and wine corks.Optional: colored pencils to outline around the masked areas.

The project included the following steps: 
1.       Use masking tape to create a simple design on a piece of watercolor paper. It could be strips of tape in various sizes in whatever configuration or tape could be shaped to form a person’s name.
2.       Use assorted materials—anything but a paintbrush—to apply watercolor paint over the entire surface. Apply 2-3 colors using various materials.
3.       Dry.
4.       Edge around the taped areas with colored pencils if desired.
5.       Remove the tape.
6.       Jazz up the white/clean areas as desired after the tape is removed.


Watercolor Flowers Doodle Art Notecard

For a brainless exercise that is mildly functional, I created a watercolor doodle art of flowers on card stock so that the end artwork can be folded and mailed as a notecard. 
Practice version in my art journal.
 I did a practice version in my art journal and then repeated the same concept on a notecard with one "bouquet" on 1/2 and another "bouquet" on the other half of the card.
First, use a round brush to swish circles of color across the page. I chose shades of yellow and orange for the practice version and half of the notecard; and purple and blue for the second half of the card. Use a smaller round brush to paint stems and leaves. Then use either a fine tip marker pen (my practice version) or colored art pencils to draw in outlines on the flowers, stems, and leaves.
The first half of the notecard

Make exaggerated outlines with colored pencils.

Embellish the stems and leaves with outlining.


The second half of the notecard.

A pretty practice piece to write a note inside and mail.

Simple Shapes: bar soap on black gesso with colored pencils

My favorite flower from the years we lived on Cape Cod.
A simple way to capture the essence of a memory is to use the edge of a bar of soap to draw the bold shape onto black paper (or black gesso coated on a journal page) of something symbolic of a person, place, or event. Cover the entire page with colored pencils, and better quality pencils will generate the boldest colors upon completion of the technique. After the page is completely colored over, you will rinse off the soap under running water. If you are using a single piece of black art paper this is easy-peasy. If you are doing this in your art journal on black gessoed pages is it a little trickier because you need to protect the rest of the book. Fold wax paper on the pages immediately before and after and insert a paper towel for good measure. Get the tap running and quickly run the artwork back-and-forth under the running water. DO NOT rub the art or more of the pencil will wash away.
A favorite flowering bush (hydrangea); this has not been rinsed.
 Remove the protective inserts and barely blot the wet page with paper towels. Use a hair drier to completely dry the art.
My mother once said when she visited us that "the only thing you can see is trees." When I visited Cape Cod after having been away for several years I realized that she was exactly right! This simple image captures the view of trees on Route 3 from Logan Airport down to the Cape...tail lights and trees all the way. Nothing else!

Notice the protective pages added before rinsing in tap water.

This needs to be done very quickly to avoid spoiling other pages.

The rinsed page.