 |
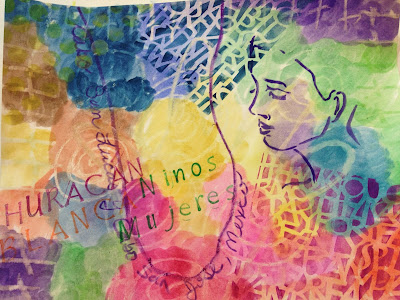
| My sample evolved to be prayers for the women and children in Cabo as Hurricane Blanca nears. |
 |
| White crayon on watercolor card stock. |
After a recent suicide attempt inside a detention center for women I volunteered to do a guided meditation on prayer with the women inside the detention center for immigrant women and children seeking asylum. During the preliminary explanation, I told the women (in my mediocre Spanish) that I do not have enough words in Spanish to share with them what is on my heart about what happened here two days ago, but I can share what is on my heart by doing art. I had made a sample ahead of time to show, and I also had typed up the basic steps for the instructions and then put them through Google Translate for a Spanish version. The women are very literate and easily read the steps. My sample also helped to break the language barrier. We used wax resist (crayon on with watercolors on card stock). The hand is drawn around with the palm up as a symbol of open prayer to God.
Materials:
1.
Watercolor paper
2.
Watercolors and watercolor pencils
3.
Paintbrushes
4.
Crayons and/or oil pastels
5.
Stencils
6.
Stamps and stamp pads
7.
Colored pencils
8.
Cups for water; pitcher; paper towels
9.
Hair drier (to force dry watercolor)
Process:
1.
Rest one hand palm side up on a piece of
watercolor paper and use a white/light colored crayon or oil pastel to draw the
hand. The palm-side-up hand symbolizes an open prayer. As desired, add a border
and/or symbols in the remaining space of the watercolor paper.
2.
Use one or more colors of watercolor to
completely paint over the paper. During
the painting process think of the people, events, circumstances that you want
to include in the art prayer.
3.
Allow the watercolor to dry (or use a hairdryer
to force the paper dry).
4.
Use stencils and/or stamps to add the names of
the people, events, and/or circumstances to your prayer.
5.
Title the prayer. Put your name and date
somewhere on the page—either on the front or on the back.

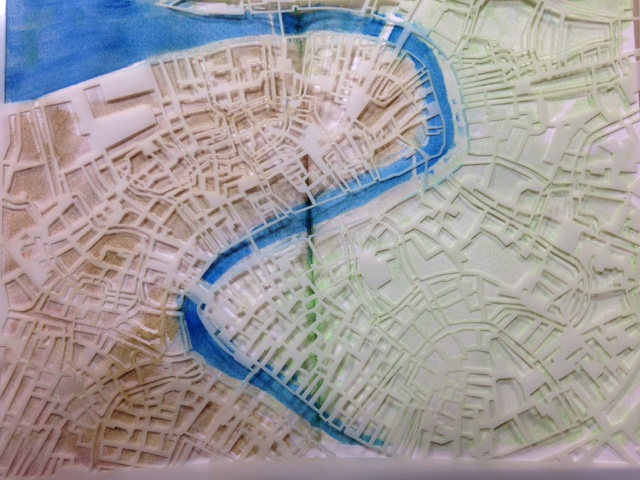


 I was intrigued when I saw the technique to use watermark resist (project by Rangerink.com) to make "resists" using stamped images on paper. The trick is that the paper must have a shiny surface in order for the technique to work properly. Otherwise, you can use any type of foam or rubber stamp and a variety of dye type inks. We experimented with the technique as part of a "team night" while on a mission trip in Mexico. I brought basic supplies which included one watermark resist stamp pad, several small stamps, and mini ink pads to be used for the dye after the watermark stamp had been allowed to dry overnight. The only shiny paper I had on hand was a stack of tags which are generally used literally for pricing and tagging items. We used these tags as the basis for our experimenting.


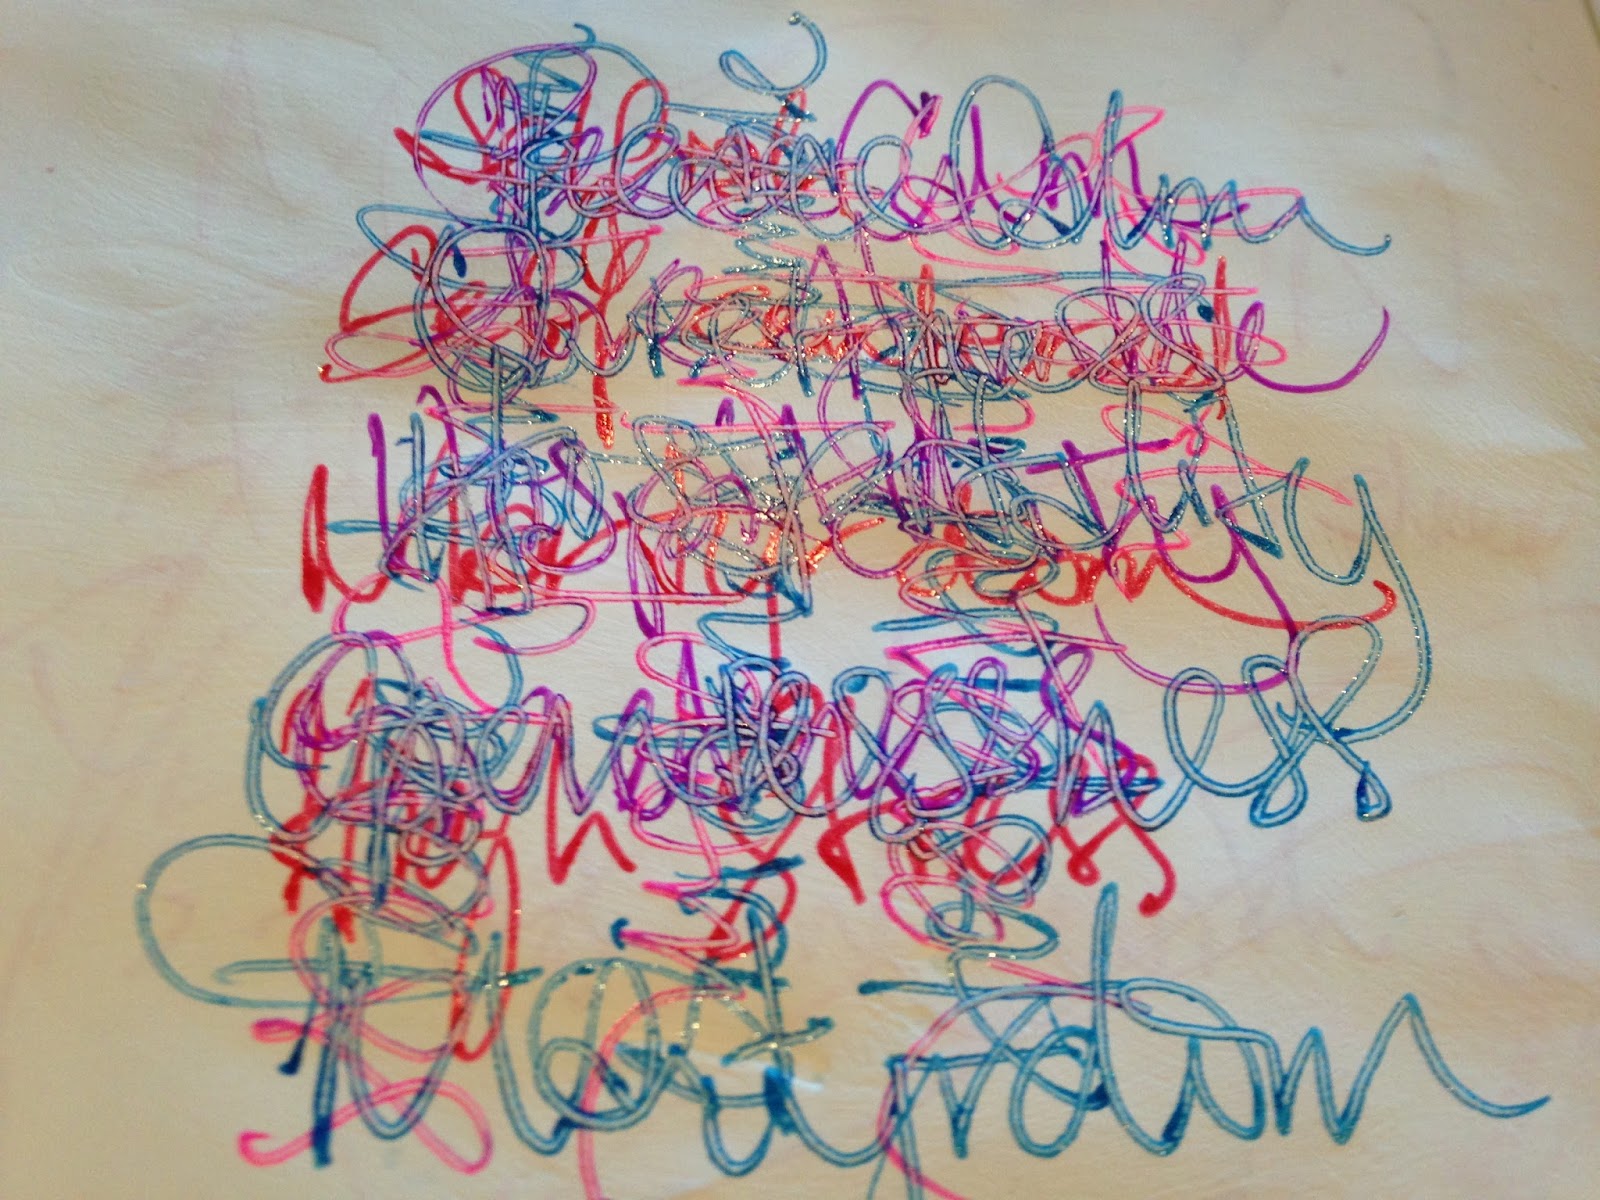


 Integrating mixed media art in Christian education is an excellent way to help students of all ages embody the lesson through simple art techniques which are easily taught and require simple supplies. Art makes learning much more fun! There are almost unlimited projects you can create that use stencils and stamps. Once you have the basic tools (stencils and stamps), the art continues into infinity. An easy project is to talk about symbols and shapes and how they add meaning to people, places, and events. The art experience helps people to visually connect with the key themes of a particular (biblical) teaching.


 As part of our annual mission trip to work with Feeding Los Cabos Kids, a ministry of Cabo Church in Cabo San Lucas, Mexico, we spent an evening teaching how to incorporate mixed media art in Christian education for kids (and adults) of all ages. Various staff and volunteers spent two hours with an intense crash course which covered a variety of materials and methods. We did wax resist on pre-cut paper crowns. The crowns were traced around a Burger King crown on posterboard and cut out ahead of time. Because we did multiple projects very quickly, each person had only 15 minutes to decorate the crown with crayon (wax) and then do a watercolor wash so the wax would "resist" (show through). We talked about the different teaching options which could incorporate the crown as the project to symbolize the teaching. For example, Jesus is King of kings and Lord of lords; the three wise men at Christmas, or one of the kings in the Old Testament such as king Solomon or king David. It is a fun and easy project. No art skills required!


