I like the oversized foam stamps which are intended for printing on t-shirts. When I couldn't find any themed for Christmas I decided to find an alternative way to make my own. I cruised the Christmas craft section and bought various shapes for other projects and then used heavy duty glue to adhere each to a free sample piece of flooring (available at your local super-sized building supply store). I used a 6"x6" Gelli Art printing plate as my "stamp pad" and "inked it up" with a liberal dose of acrylic paint from a tube.
There are several variations on the theme. You can simply use the Gelli Art plate like an ink pad, inking and re-inking (washing between as appropriate) or you can use the Gelli Art plate as the stamp. Of course a combination also works. I worked on a journal page which already had some basic preparation done for the background. I chose purple to provide a strong impact image and to complement the existing colors.
Showing posts with label block printing. Show all posts
Group Dump Sheet Reflection & Communion Trumps All
I've shared the process and reflection for doing a "dump sheet self portrait" to help deal with life's hurts, habits, and hang-ups. This group version takes the same concept but applies it to relationships in a group dynamic. Choose a relationship and/or particular event with various key players involved. The people and setting will be the point of reflection...thinking on thinking of the people, place, relationship, and/or event. Next choose colors to represent each person. There are no rules; simply choose whatever color(s) you associate with each person in your designated group and size the pieces so that all will fit on your journal page. Then quickly write with a lead or colored pencil and "dump" out your feelings for each participate. Draw a head and shoulders for each person and cut out along the outer lines; glue in your journal. Add facial features and hair as desired. The point isn't to make these faces look like the people they represent; rather to by symbolic of each person. Feel free to be totally radical with the colors you select for the paper and the hair and facial features. Decorate the journal page before you adhere your group portraits. Title the theme of your reflection base on what is at the heart of what you are thinking about.
In my example "law vs. relationship" was the root issue. So this became the "background title" which ultimately was nearly completely covered with the rest of the collaged elements. I toned down the stamped background with diluted white gesso. While I was doing the dump sheet writing on each person in the group I realized that what was at the heart of my role was (and is) communion in the fullest sense of the word. Communion through relationship and through the sacrament and significance of the Lord's Supper. I embellished this significance with stamped images from a block print.
| I chose translucent papers as I wanted the background to to bleed into the people |
| I used a custom stamp "communion" to provide a simple title with another block print on top of the collage for emphasis. |
Block Prints in Liturgical Shapes
It's easy to make your own block printing design blocks. I created a collection of copyright free Christian symbols; sized them to 3-1/2 inches; used each as a pattern to cut out the shape from thin sheets of craft foam available at Hobby Lobby & Michael's. Clue the shapes on blocks (my husband cut a cedar 4x4 into 4" cubes). Paint with the desired color of acrylic and block print to your heart's content. In this example, I chose symbols that connect with the theme of the journal page ["Community of Dreams"]; the dove represents the Holy Spirit; Trinity (right side); PAX (Peace of Jesus); and crosses. I created a simple "site map" of the Community Fellowship "campus" as of October 2013. The simple line art shows the layout of the buildings of this new church development. The postcard makes the connection to my experience of church as a child to the DNA of the church I was called to "plant" in South Texas.
Gratitude Graffiti
Sharpie oil-based markers are fun to use on pages covered with black gesso. The markers make the colors POP with vibrancy on the black page. Sparked by the exposed words on a previously black-gesso-coated page, I used the bright markers to do stacked journaling (writing on top of writing) to write my rejoice and be glad gratitude list. The symbols of the sacraments of the Protestant Church -Holy Communion and Baptism-are made with custom block imprints. The chalice and bread symbolize Communion, and the shell symbolized baptism.
Block Printing
Choose a copyright free line art design from the
internet; size to fit a block; place the pattern over a piece of art foam
(available in all colors at craft stores like Hobby Lobby) and cut between all
the lines. Reconstruct the shape allowing space between each piece and glue on
block. Allow to dry.
The chalice and loaf block print is a combination of a simple circle stamped first and allowed to dry; and the cup and bread which is printed on top of the circle. Foam block printing can be “stamped” onto traditional stamp pads, but they also work well to brush with acrylic paint—which gives the two-color imprint indicated below.
Use the block imprints on posters, journals, and t-shirts.
VBS 'Dump Sheet'
Doing a "dump sheet" in your art journal is a quick way to jot down key moments you want to remember about a particular event or activity. Here I used four colors of pilot markers to write down the positive points of our week-long vacation Bible school. The journal page is in an altered book which was layered with white gesso and then spritzed with the fabric sprays we had used in one of the VBS activities. The simple layout also includes the group photo from VBS and my name badge. I used the block print from the t-shirts we had made at VBS to imprint the theme design with orange acrylic paint across the center of the journal page. The stacked journaling words describe the experiences of the week. Every time I flip through my journal it will be a reminder of the love and joy and fun and community of this this special week.
Prayer Flag Illustrates Prayers of the Congregation
The children at summer VBS made prayer flags to illustrate the various local and global missions that the church participates in. The individual flags are made from a white sheet that had been cut into rectangles with pinking shears and then the pieces ironed smooth.
An adult prepared the flags with the words of the various missions using foam letters and fabric ink. During the teaching time, the leader talked about the ways this particular church serves the local and global community. For example, teens and adults volunteer at Connections, a shelter for teens at risk; the pastor helps with two new church developments (Filipino-Austin and Bastrop); a mission team goes to the barrios in Los Cabos, Mexico to work with women and children and the Cabo Kids mission; the church sponsors a child in Ethiopia through Compassion International, and the church supports local food banks.
Block Imprint(ed) Tee Shirts
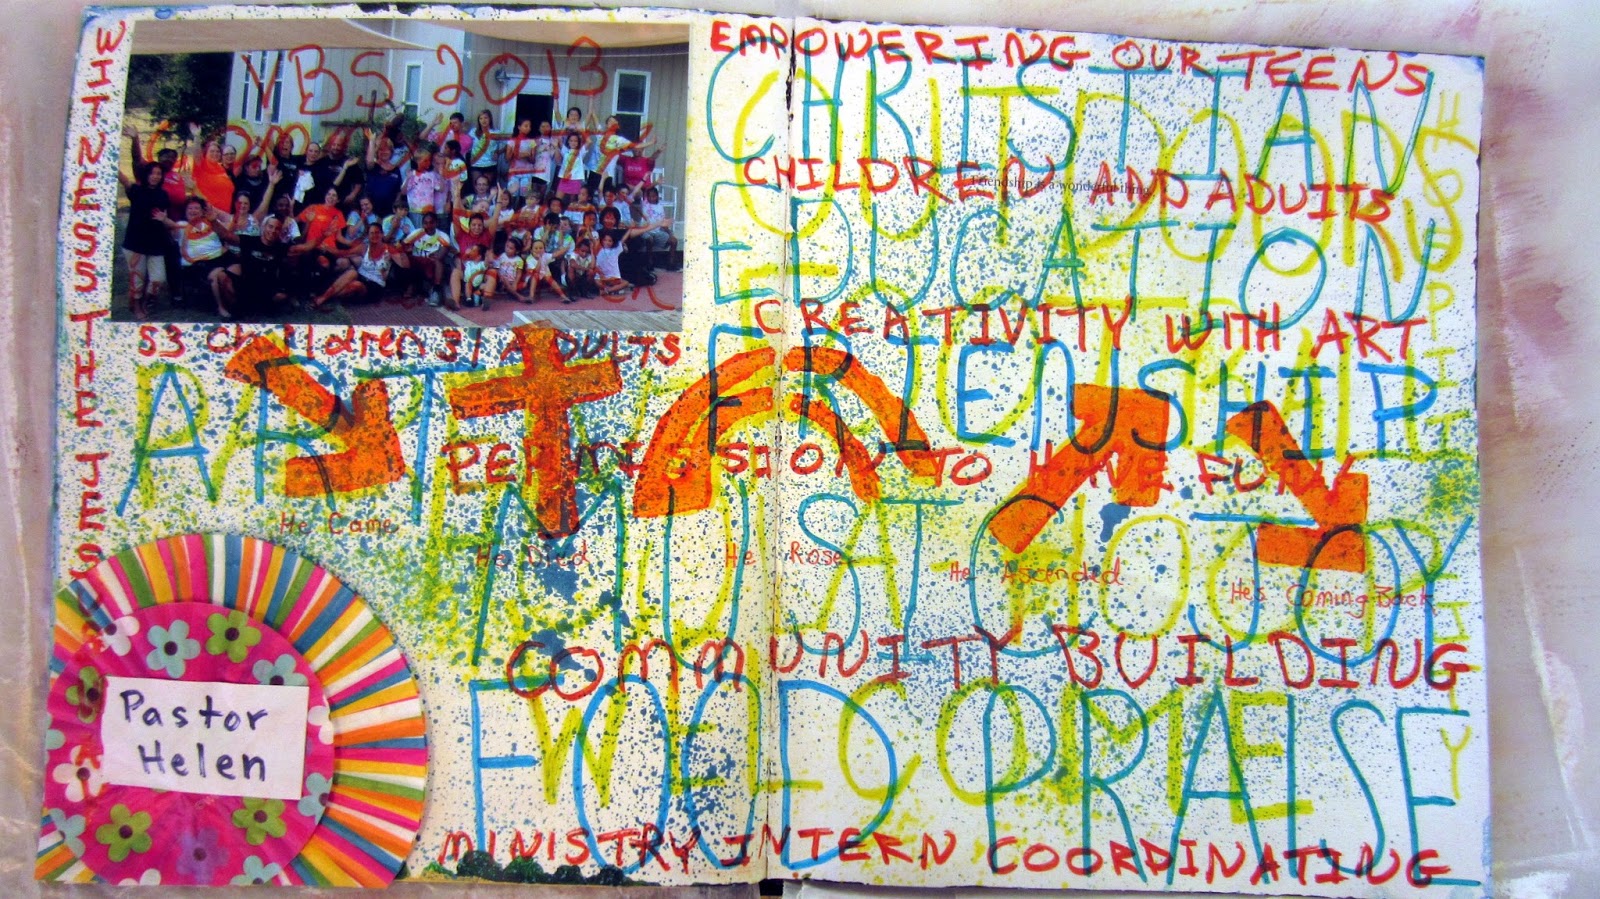
Use craft foam to cut out designs, glue on wood blocks, and make "custom" block printing images for t-shirts. We used the theme "He came; He died; He rose; He ascended; He's coming back" theme to make custom shirts for our VBS with the theme: Witness the Jesus Way. We had everyone BYO their own shirt in whatever style they chose. They selected three complementary colors of fabric paint and "spritzed" their shirt front and back. The fabric paint dries fairly quickly, particularly in the Texas HOT summer heat. TIP: Make your own fabric sprays by mixing 1/3 acrylic paint to 2/3 water in a small (hairspray) bottle OR refill the fabric spray bottles using the same paint-to-water ratio. After the spritzed paint dries use already prepared block prints to imprint the five symbols. Have teens or adults help the smaller children do the block imprint. TIP: do a prototype ahead of time so the design concept is readily available for everyone to see. Also, begin your design by positioning the middle element and imprinting it first in the center; otherwise you might misjudge the amount of space and run out of room on either side. To avoid this, begin in the center and work your way out.
Use a paintbrush to "load" the stamp with acrylic paint. Position the imprint slightly below the neckline so it is "above" the chest. Press the block with a firm hand that doesn't wiggle/move the stamp once it is placed on the fabric. The same homemade block stamps can be customized for virtually any "chunky" design that doesn't require a lot of detail.
| Begin in the center and work out. |
| The completed imprint. |
Subscribe to:
Posts (Atom)
